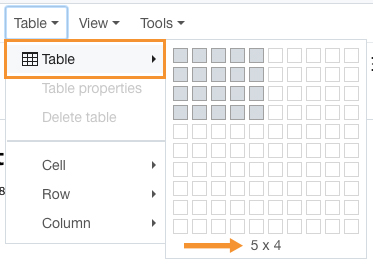
Cascade has a table tool that allows you to create and edit a table. To create a table in Cascade, first click on the “Table” tab from the toolbar.

Hover over the top label “Table” from the dropdown menu and select the size of the table that you want to start out with.
- The numbers on the bottom indicate how many rows and columns the table will have. The max to start out with is 10×10 but you can always add more rows and columns later.
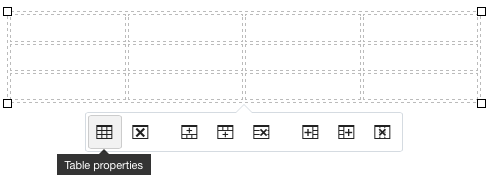
You can start off resizing the table by clicking and dragging the bottom right corner of table or go into the Table Properties to get more options.
- To get to the table properties you can either:
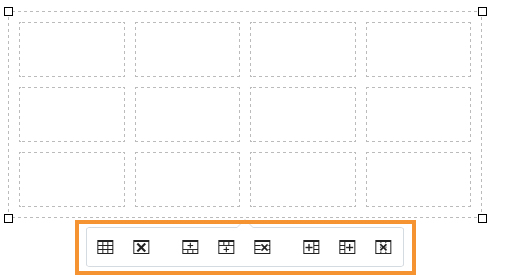
- Click the table and select the “Table Properties” button from the pop up selection as shown
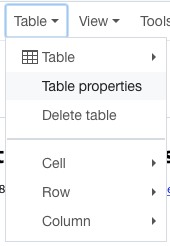
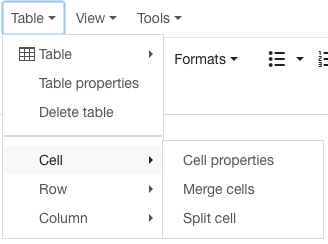
- You can also access the table properties by clicking on the table and selecting “Table Properties” from the top dropdown menu as shown
In the Table Properties window you can style the table with the following options:
- Width: The width of the table, in pixels.
- Height: The height of the table, in pixels.
- Cell Spacing: The space between cells, in pixels.
- Cell Padding: The space between the cell wall and the contents of the cell, in pixels.
- Border: The boldness of the outer border of the table, in pixels.
- Caption: The title of the table.
- Alignment: The horizontal alignment of the table.
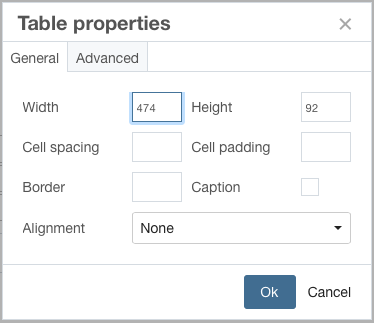
Click Ok to save properties. These properties can be edited at any time.
Editing a Table
You can quickly delete and add rows and columns to your table by using the bottom table options as show below.
- Columns: The number of columns in the table.
- Rows: The number of rows in the table.
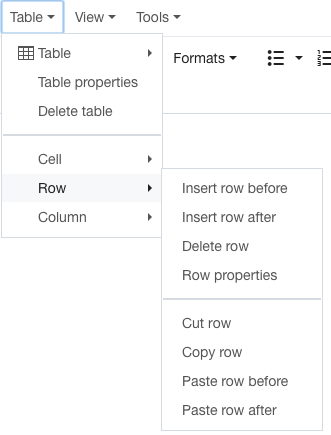
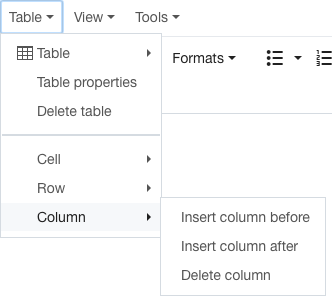
- Clicking on the table and selecting the Table dropdown menu from the top of the toolbar allows further options and styling of cells, rows, and columns
Adding Content to a Table
You can add content to your table in the same way you would usually add content to a page in Cascade.
To add an image to a table, you can click on the “Insert/Edit Image” button ![]() , or you can cut and paste an image directly into a cell.
, or you can cut and paste an image directly into a cell.
To add text to a table, simply click within a cell and type. Below is a table with some example content.

Adding a Summary to a Table
Due to ADA compliance, tables are required to have a descriptive summary about the contents of the table.
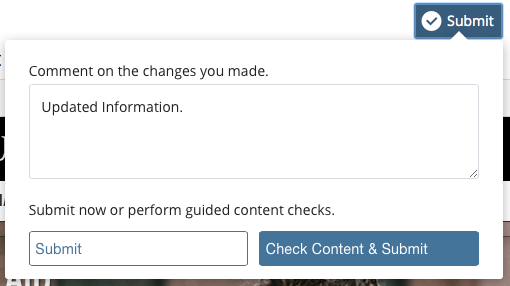
- Once a table is created on the page and the page is saved as a draft, click the Submit button and then Check Content & Submit.
- Once you have checked through the misspelling and broken link sections (if any), there will be a section labeled Section 508 Accessibility Check.
- In the Actions section, click the Fix button which will show a text box.
- Enter a descriptive summary about the contents of the table.
