Here is documentation on how to crop or resize images in Photoshop Elements (this is different from just Photoshop).
Crop Images in Elements
- To crop an image in Photoshop Elements, first open the program and open the image file you wish to crop.
- You should find a vertical toolbar on the left hand side of the program window. Select the crop tool.

- Settings should appear on the bottom of your window. You can adjust these settings for whatever dimensions you want your photo to be.

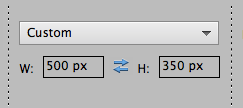
- In the “W:” and “H:” fields, you can specify the width and the height of the image you want to crop it to. While by default the dimensions are in inches, you can also type in other measures, including pixels, as the example shows below. (In the dropdown, you also have an option to select No Restriction that will allow you to crop free-hand.)
- Then, hover your mouse over the image, select the top-left corner from which your cropped image will begin, and expand the crop window to where you wish your image will be cropped to.
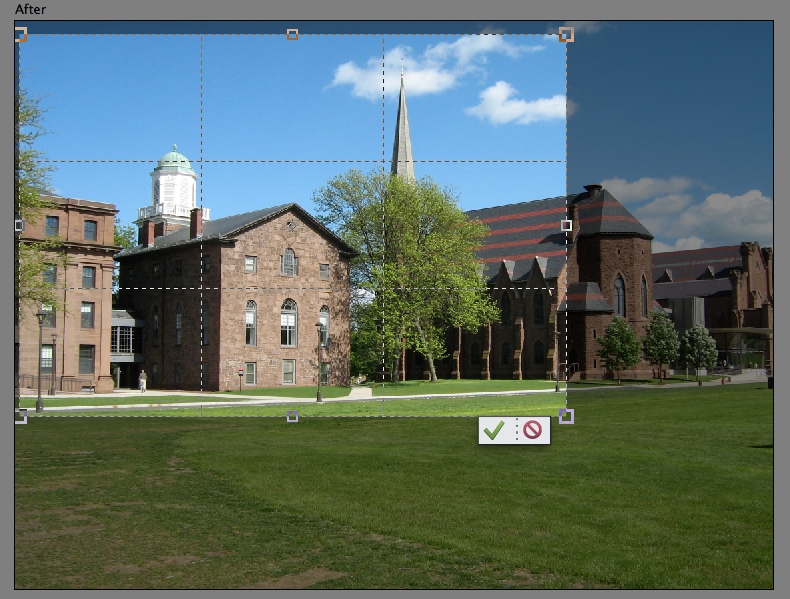
- Hit the green checkmark to apply your crop settings. Be sure to save your image when you finish.
Resize Images in Elements
- To resize an image, first open the Photoshop Elements program and open the image file you want to resize.
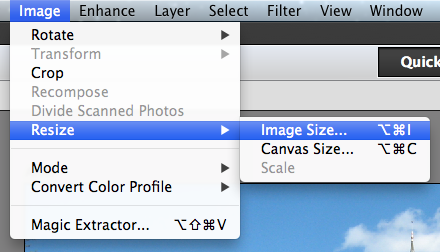
- In your top menu bar, select “Image” > “Resize” > “Image Size”.
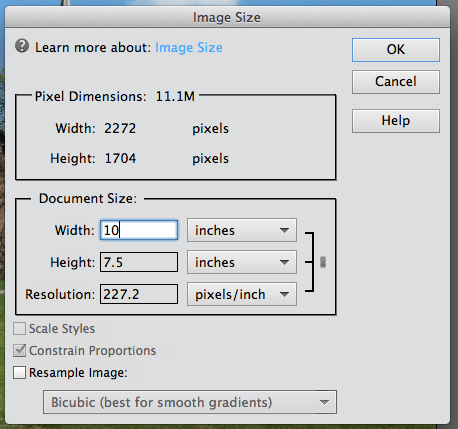
- A window will appear. Here, you can decide what you want the size of the image to be under “Document Size”. Note that the proportions of your image will remain the same, thus when you change the Width, the Height will adjust appropriately. Hit OK when you’ve made your changes.
- Your image should be resized. Be sure to save your image when you finish to ensure the changes are applied.