If you need to embed a video on a page in your Cascade website put a request into ServiceNow (http://service.wesleyan.edu). A new cascade asset will be put on your website under Add Content that will allow you to create a new page that contains video. Once the asset has been set up you can follow the directions below.
- Before you create a new video page you will need to determine where the page will fall in the navigation
- Remember a page will appear in the navigation based on what folder it is in
- Highlight the folder where you will be putting the new video page
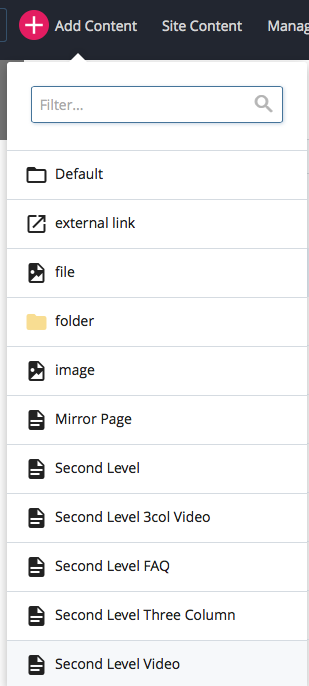
note: if it is in the main navigation high light the Base Folder - To create a new page you will need to use an asset from the Add Content menu at the top of the screen
- Select “Second Level Video”
- note: your site may have different page assets for each folder
- you will see the following screen
- Select “Second Level Video”
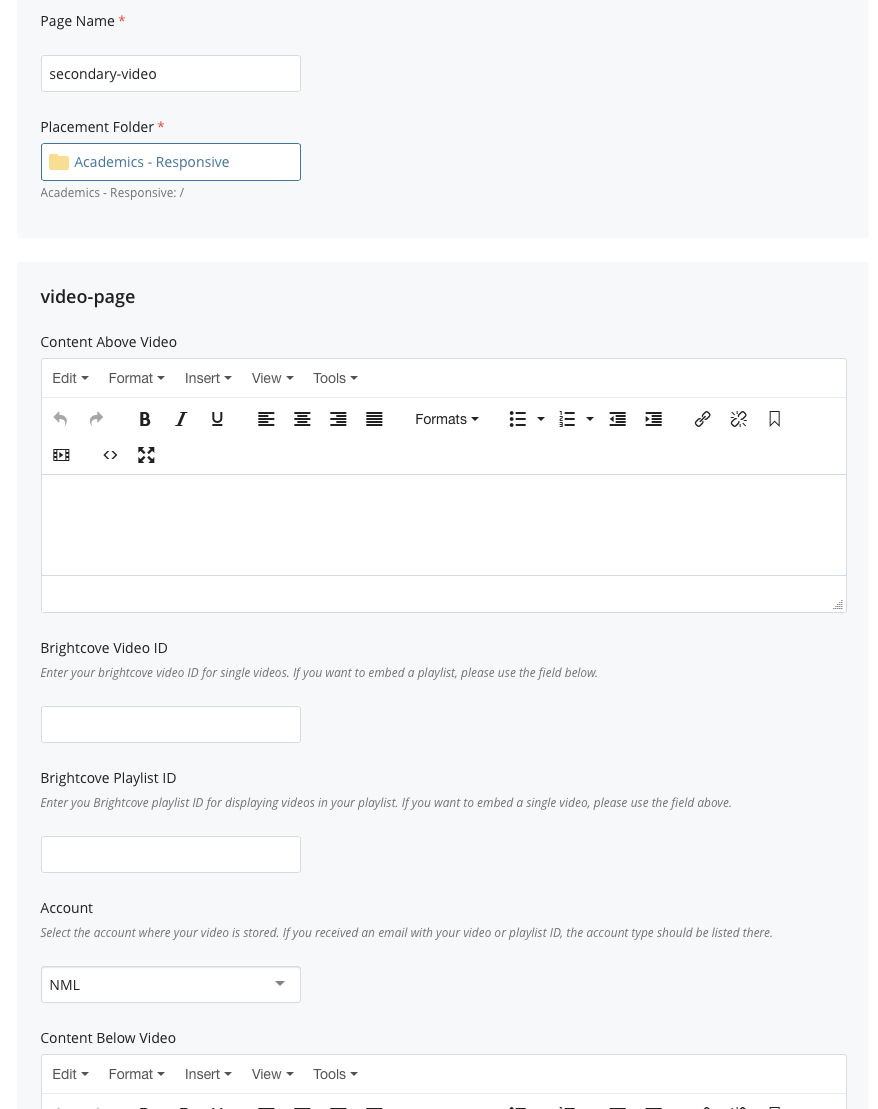
- In the screen enter
- Page Name: the file name used in the url (do not enter the .html). For example, if you are making a page for awards, make the page name “awards”
- remember to use good web naming conventions
-
- no spaces; use underscores or dashes instead (e.g. student_awards)
- no special characters (? ! .)
- use capital letters sparingly
- Content Above Video: enter the content you want to appear above the video
- this may be a title that relates to the video (using Heading 1)
- this may be a paragraph introducing the video
- this may be left blank – there will be nothing above the video
- use the wysiwyg editor to format your text in this section
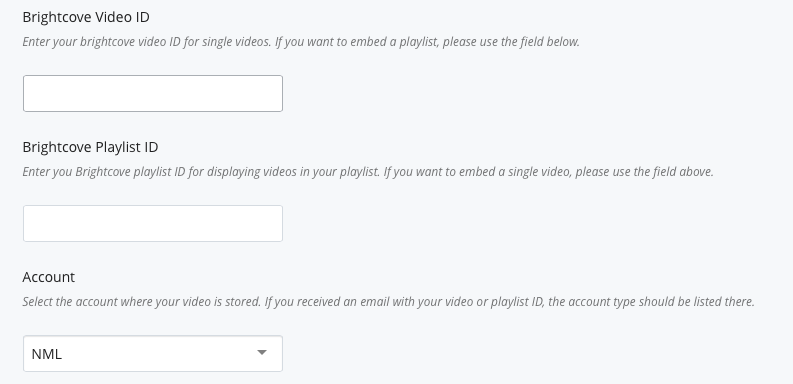
- BrightCove Video ID or Brightcove Playlist ID:
- You may use only one of the two ID options, one must be left blank.
- Both IDs are 13 digits that will be provided by the person who uploaded your video or the upload video screen
- Account: dropdown is defaulted to NML
- use the default — if you need to change it you will be informed
- Content Below Video: enter the content you want to appear below the video
- this may be a paragraph about the video
- this may be left blank – there will be nothing above the video
- use the wysiwyg editor to format your text in this section
- Page Name: the file name used in the url (do not enter the .html). For example, if you are making a page for awards, make the page name “awards”
- after entering/formatting your data click the Metadata tab
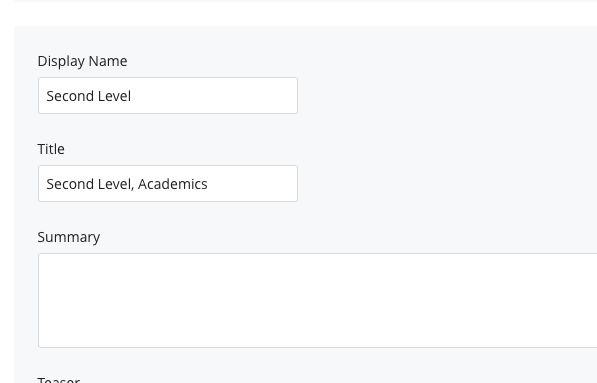
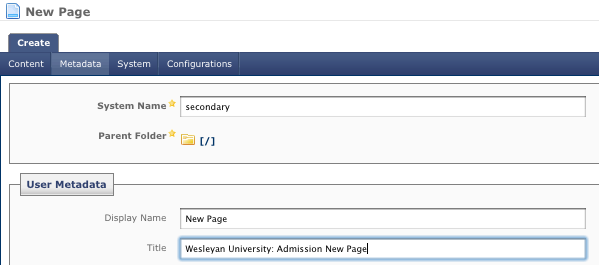
- In the User Metadata section enter:
- Display Name: the name that will appear in your navigation (e.g. Student Awards)
- Title: the title to appear on the top of the window in your browser.
Format as Name of Page, Department or Office (e.g. Student Awards, Psychology)
- click the Configure tab
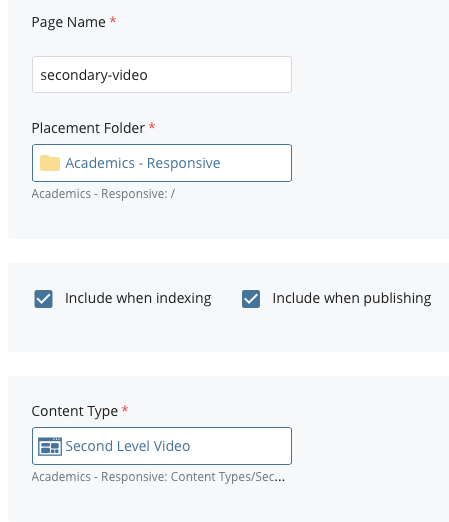
- Page Name: the file name used in the url (do not enter the .html); likely this is already filled in from when you entered the system name on the New Page screen
- Placement Folder: be sure the correct folder is listed if not click on the box to change; use the navigation box that appears to select the correct folder
- Index: if you do not want this page included in the navigation uncheck this
- Publish: if you do not want this page to be published you can uncheck the publish box
- Press the “Preview Draft” button — if the draft looks good in Cascade press the “Submit” button
 to save your changes to the database.
 - if the page looks good you can publish it
- remember, if it is a new page in your navigation you should publish your whole site