How to Add/Change Images in Header Slideshow:
- If instead of a static banner with only one image, you would like a slideshow with continuously changing images, the ‘banner-slideshow’ block can be used.
- Note: You will have to request to have access to the “banner-slideshow” block before you can add and change images on own.
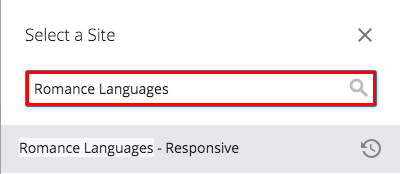
- In order to add images to this block, use the search bar to go to the site you are working on.

- Upload your banner images to use in the slideshow to the “images” folder of the site.
- You will need to have 2 sizes of each image — a small (605 x 189px) and a medium/large (1200 x 375px)
- Make sure the images have descriptive names so they are easy to locate. (Example: “city-at-dusk.jpg” and “city-at-dusk-sm.jpg”)
- After requesting to have access to the banner-slideshow block, you can find it in the main site folder.
- Select the ‘banner-slideshow’ block from the list and click ‘Edit’ at the top of the page.
![]()

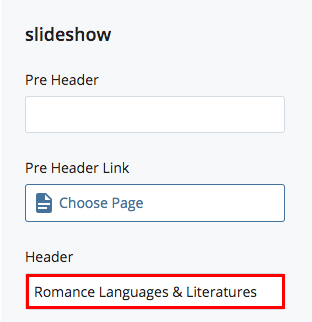
- The “Header” and “Header Link” sections should already be filled out for you
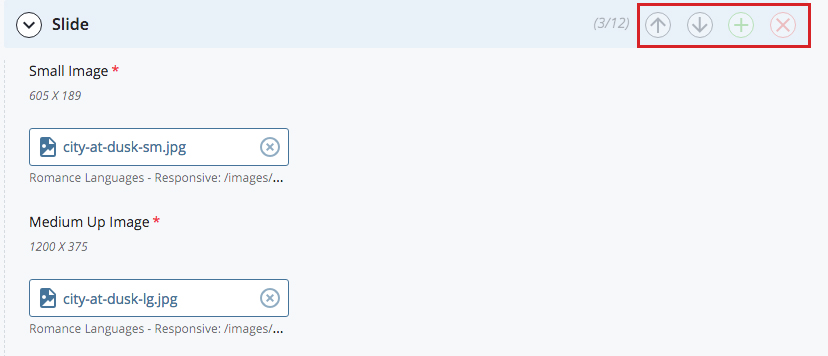
- Underneath the ‘Slide’ tab, you can choose the first image in the desired slideshow. Make sure that you have both a medium sized (1200 x 375) and a small sized (605 x 189) image for those looking at your page on a desktop and a phone.
- You can reorder the images in the slideshow using the arrows, add more slides using the green “+”, and delete slides using the red “x”.
- If there is only one slide in the slideshow it will simply be presented as a static banner with no movement.
- When all of the desired images have been added, click ‘Preview Draft’ and then click ‘Submit’.
