(Note: This tutorial was made using Adobe Photoshop CS5, but earlier/later versions of Photoshop should have only cosmetic differences; the mechanics of image resizing and cropping should be the same.)
Resizing Images in Photoshop Video Documentation
Resizing Images
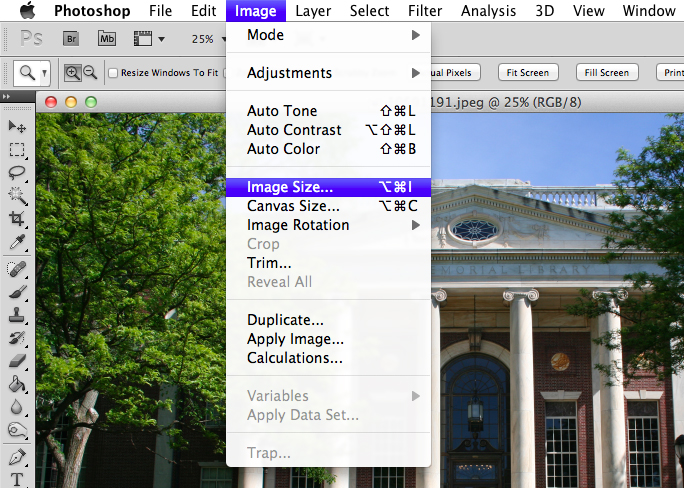
1. Open the image in Photoshop.
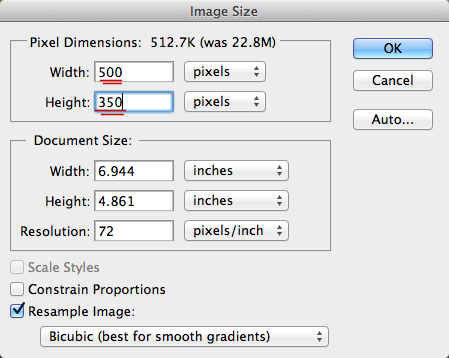
2. From the “Image” dropdown, select “Image Size.”
3. Make sure that the resolution is set at 72 DPI. If it is already at 72, skip to step 4. If not…
- 3a. Un-check the “Resample Image” box.
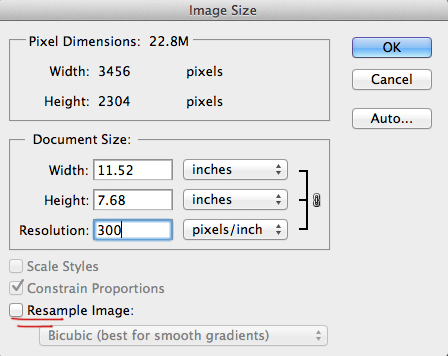
- 3b. Making sure that the “Pixel Dimensions” field has been grayed out, change the Resolution field to 72 pixels/inch.

- 3c. Re-check the “Resample Image” box.
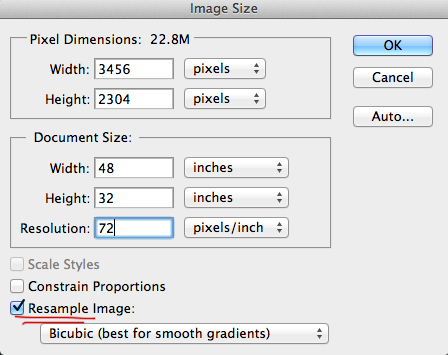
4. Now you will have to change the dimensions of the image in the “Pixel Dimensions” field. The final size of the image will depend on where it will be located.
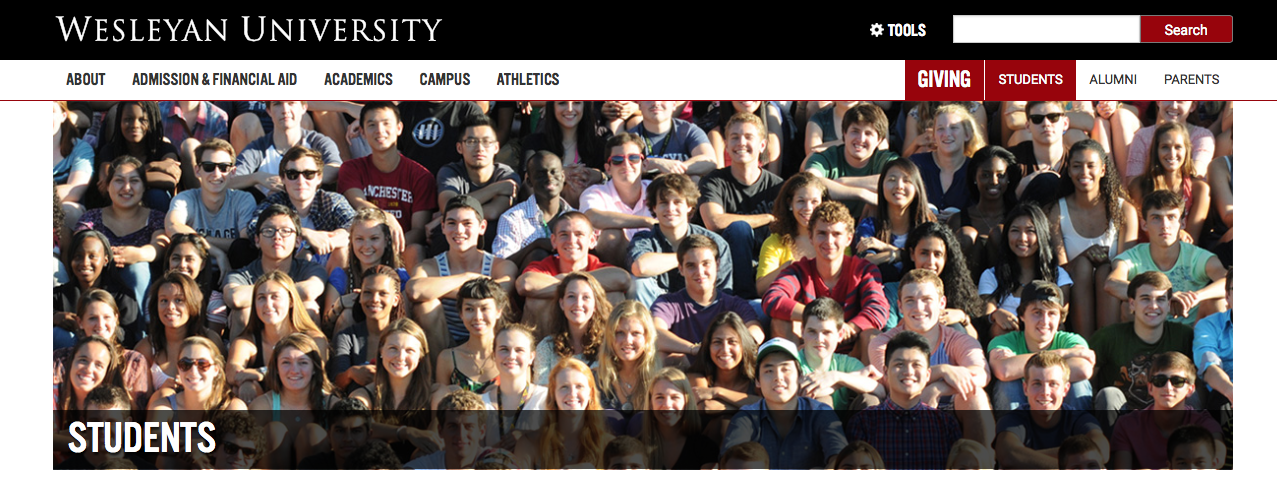
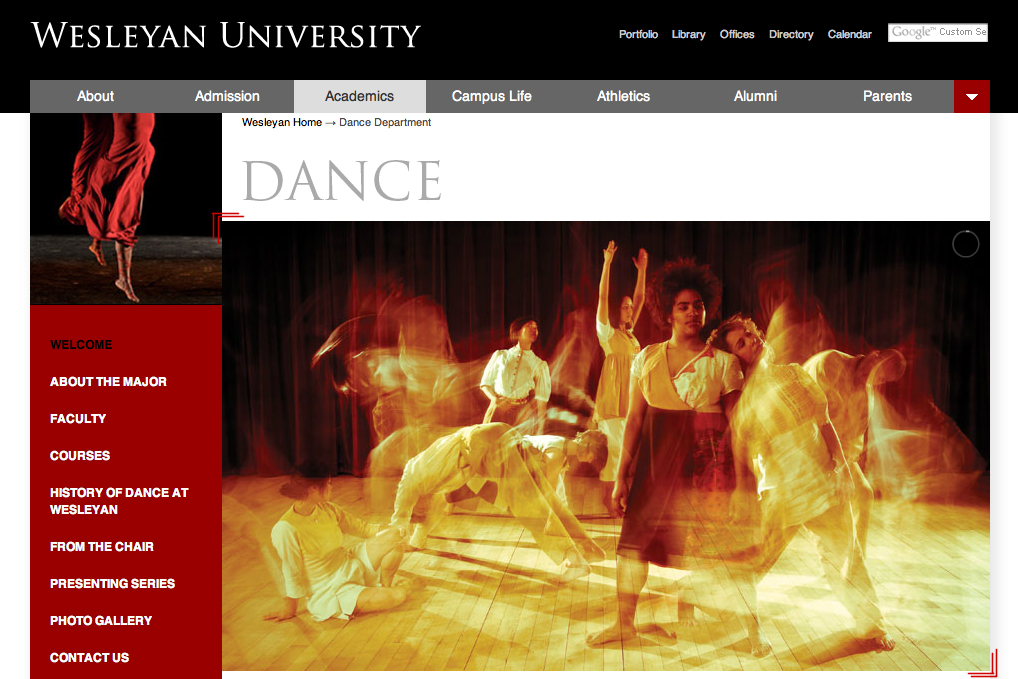
- 4a. If it will be a single-photo banner as seen below, the image should be resized to 1200 x 375 px (1200 pixels wide and 375 pixels high).
- You will also need to make a small banner resized to 605 x 189px (605 pixels wide and 189 pixels high).
- 4c. If it will appear in a gallery as seen below, the dimensions are 500 x 350 px.
5. In the image below, “Constrain Proportions” is unchecked, which may lead to distortion of the image after resizing. If you do not want this, make sure to check the box. Once you have done that, the height (width) will automatically adjust according to your input of the width (height). For obtaining undistorted images of different height:width ratio, see instructions for Cropping Images In Photoshop.
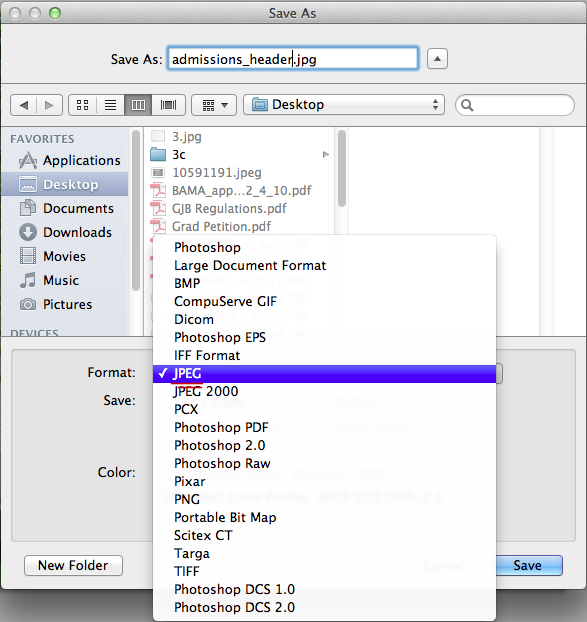
6. Save the image as a JPEG.
6. Follow these directions to upload the image to Cascade.