For all folders/pages that you’d like to appear in the navigation sidebar, make sure that “include when indexing” is selected for the page.
Setting Up Site Navigation Video Documentation
Step 1:
- Go to the desired page or asset you wish to include in the navigation
Step 2:
- Click the “Edit” button in the top right of screen

Step 3:
- From the edit window, navigate to “Configure” from the top items shown.

Step 4:
- Make sure both “include when indexing” and “include when publishing” are checked. (see image above)
- If “include when indexing” is checked, the page will appear in the sidebar navigation. If it is not checked, the page will not appear in the sidebar navigation.
- If “include when publishing” is checked, the next time the site or asset is published, the changes will appear on the live site. Otherwise it will not get published.
Step 5:
- From the same edit window, click on the “Metadata” tab from the top items shown.
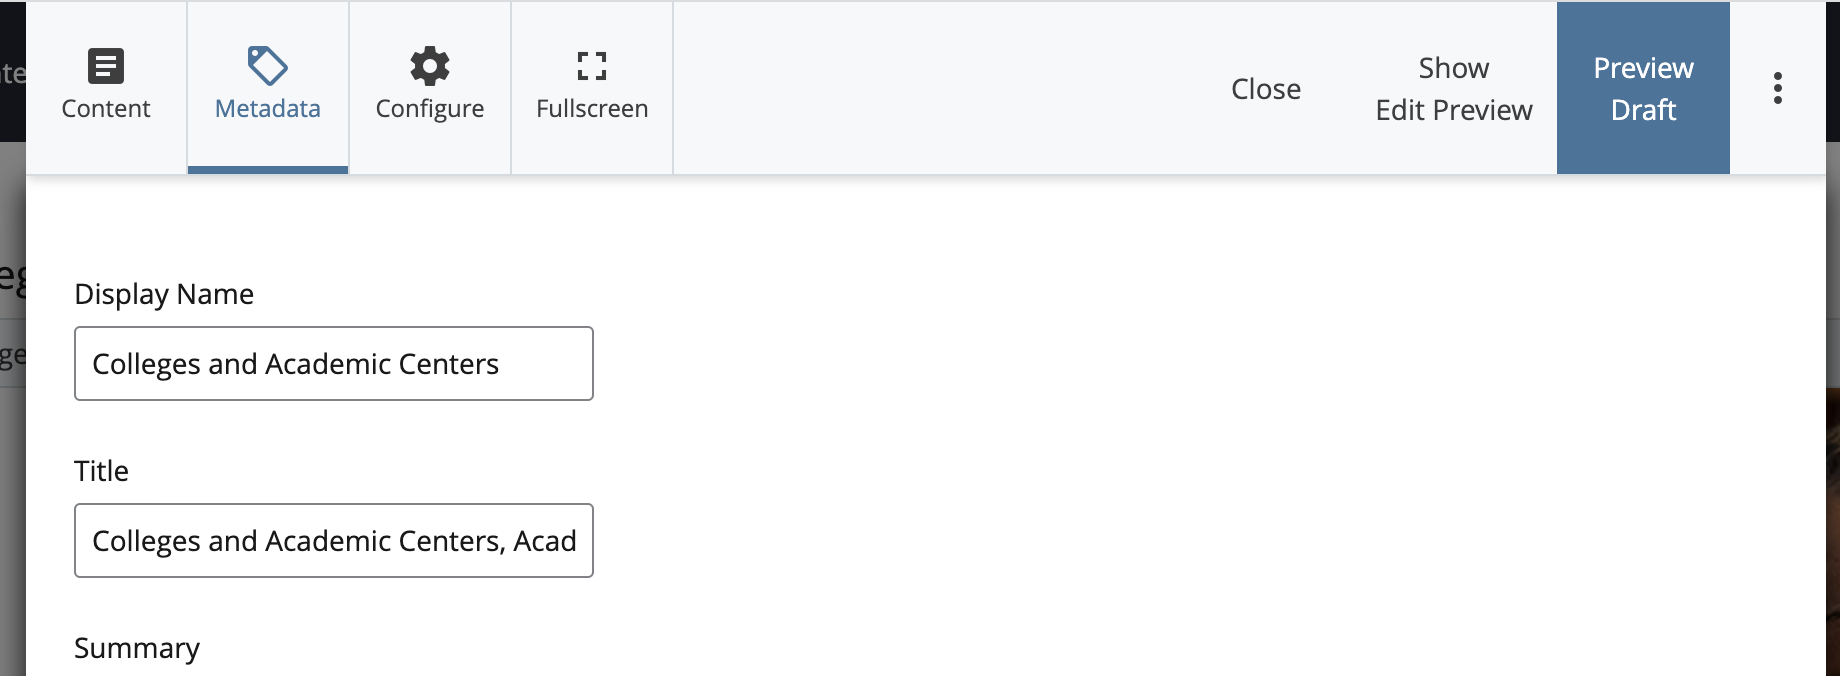
Step 6:
- Give a Display Name
- this is the name that will appear in the navigation sidebar
- if this is empty an indexed page will not appear in the navigation or cause an error
- this is the name that will appear in the navigation sidebar
Step 7:
- Give a Title
- this is what will appear in the browser tab when a user is on a live page

- this is what will appear in the browser tab when a user is on a live page
IMPORTANT NOTE: Whenever a change is made to the navigation (either adding a new navigation item, or removing an item) — the ENTIRE site needs to be published once the change in cascade is made and ready for the live site. This is to avoid having broken links in navigation.