To upload an image to Cascade, first locate the folder where the image will live. Usually, this folder is named “images”. If one does not exist, you should create one.
Upload an Image Video Documentation
Creating a folder named “images”:
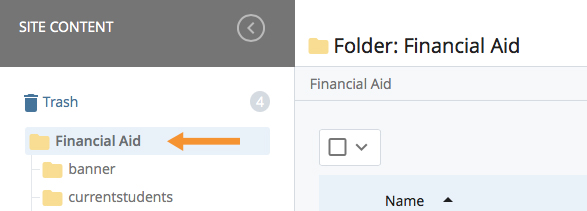
Step 1:
Click on Base Folder
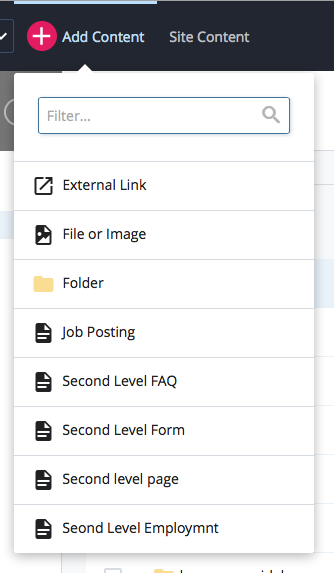
Step 2:
Select Add Content > Folder
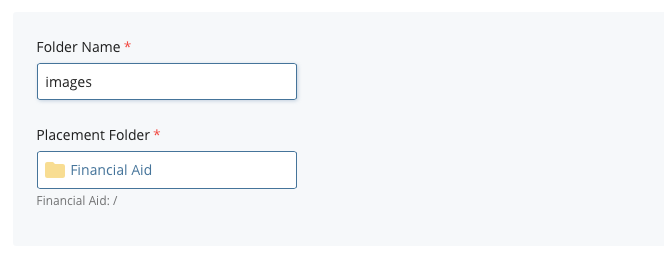
Step 3:
In the Folder Name field name the folder “images”.
Step 4:
Click on the Properties tab
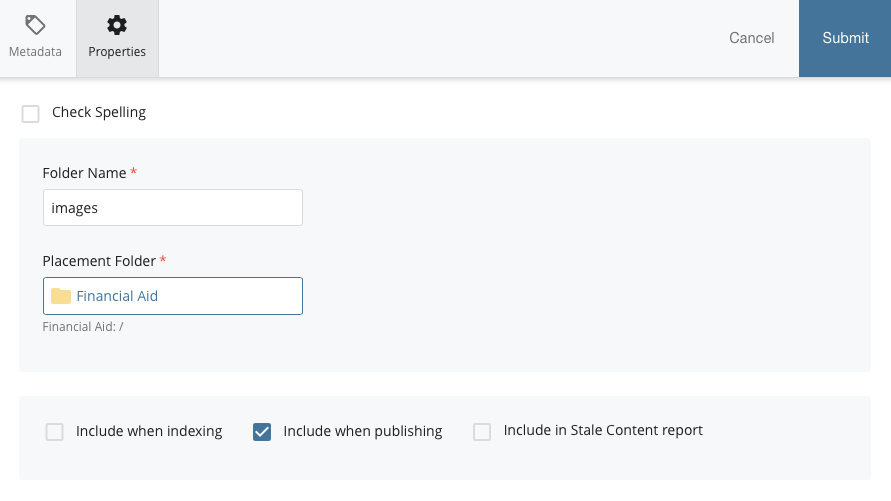
- Include when publishing is already checked
- we do want this folder published
- UNCHECK – Include when indexing
- we do not want this folder to be included in the site navigation
- (See above image)
Step 5:
Click Submit to save the folder to database.
Uploading an Image
Step 1:
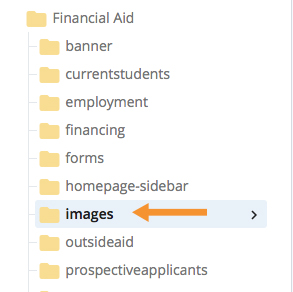
Click on the folder where the image will be stored – in general you will use the folder named “images”:
- In order to fully select the folder, you may have to click the carrot icon (>) that appears when you hover over a folder
Step 2:
- Click Add Content from the top left
- Select “File or Image” from the options in dropdown
Step 3:
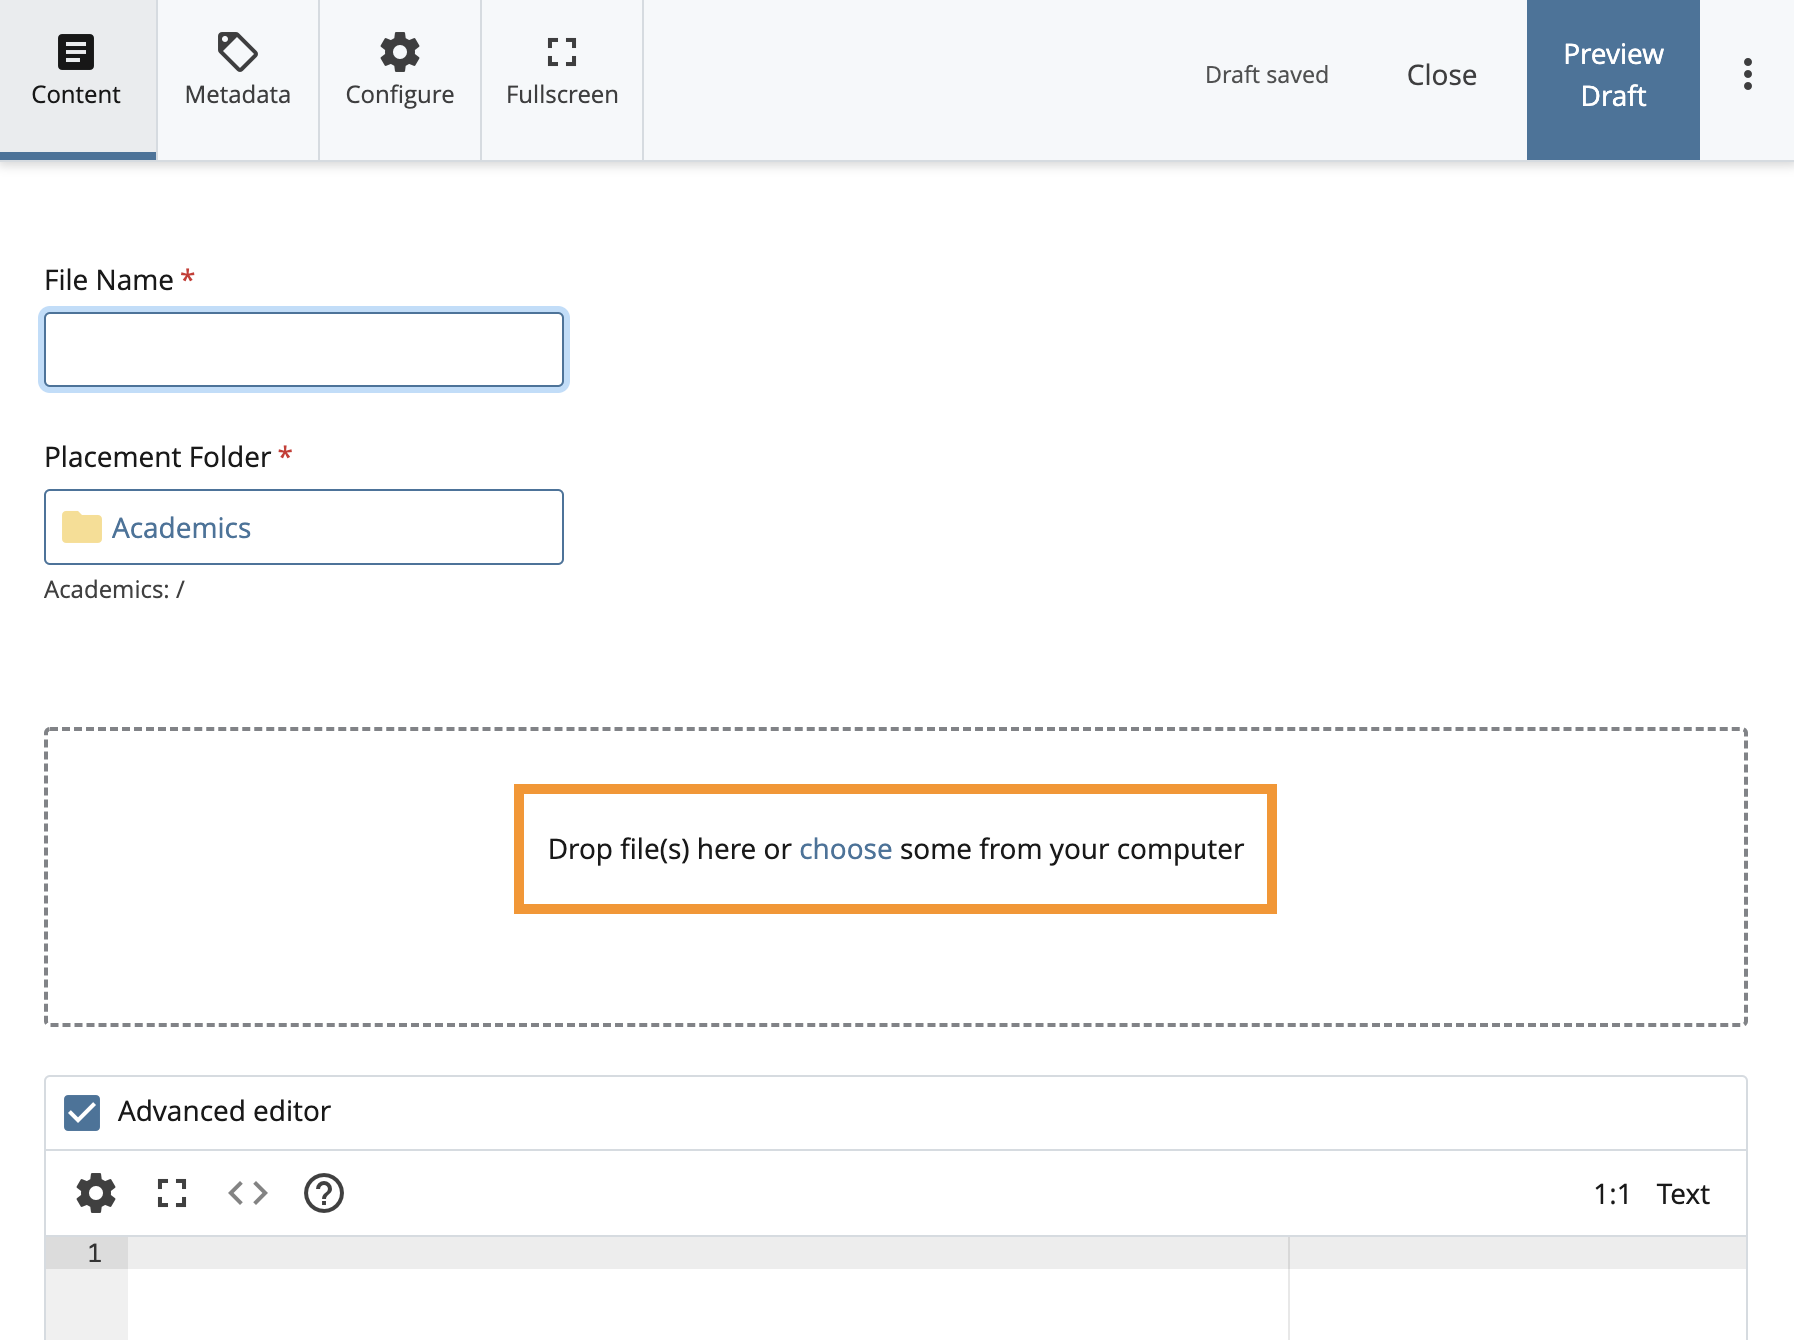
Upload image — There are two ways to upload your image:
Option 1:
- Select choose from the window to locate the image on your computer
- Locate and select the image on your desktop
- Once image is selected, you will be able to see a preview of the image
- The “File Name” autofills to the name of the file you uploaded

- Press the “Preview Draft” button
- If the draft looks good in Cascade, press the “Submit” button
 to save your changes to the database.
 - You will see the uploaded image listed in your images folder
Option 2:
- Drag a file from your desktop to the Drop file here to upload section of the page

- Press the “Preview Draft” button
- If the draft looks good in Cascade, press the “Submit” button to save your changes to the database.
- You will see the uploaded image listed in your images folder