This training goes into more detail on the following topics:
Navigation
You control your website’s navigation.
You determine:
- which folders, pages and files appear in your navigation
- the link text in the navigation
- the order of the items in the navigation
Every folder you create, every page you create and every file you upload can be included in your website navigation.
Including/Excluding an asset from Navigation
- to exclude an asset from your left hand navigation
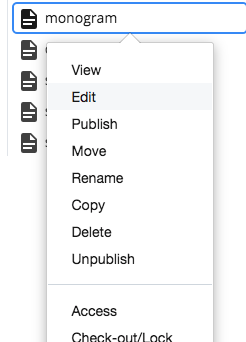
- right click on the asset name
- select “Edit” from the dropdown
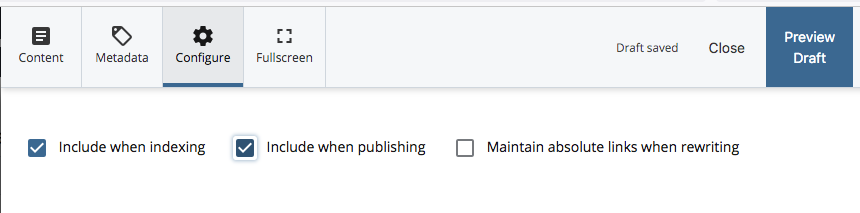
- to to the “Configure” tab
- uncheck “Include when indexing”
- Preview/Submit to save the asset
- because you have changed the navigation you need to publish the whole site
- to include an asset in your left hand navigation
- right click on the asset name
- select “Edit” from the dropdown
- to to the “Configure” tab
- check “Include when indexing”

- Preview/Submit to save the asset
- because you have changed the navigation you need to publish the whole site
- to change the wording of the link in the navigation
- right click on the asset name
- select “Edit” from the dropdown
- to to the “Meta” tab
- enter the link wording in the Display name
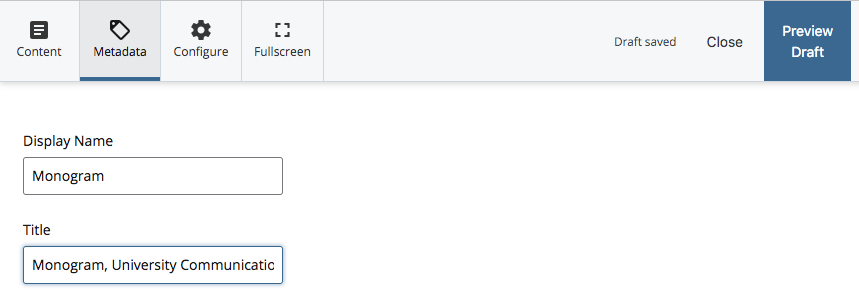
- you should also update the Title — this is the name that appears in the browser tab (good for SEO)
- Preview/Submit to save the asset
- because you have changed the navigation you need to publish the whole site
- note: if you don’t put a display name for an item in the navigation the item will share the display name of the item before it
- note: if the “Include when publishing” box is checked the asset will still be available for viewing through a browser
- note: every file uploaded automatically is included in the navigation
- – remember to go to Edit>Configure and uncheck the “Include when indexing” if you don’t want the pdf in the navigation.
Reordering Navigation
- select/highlight the folder that you want to reorganize the navigation
- mouse over the folder and click on the right facing arrow that appears to the right of the name
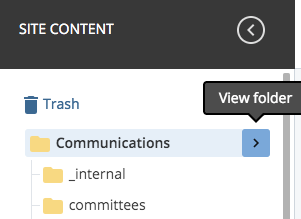
- mouse over the folder and click on the right facing arrow that appears to the right of the name
- a list of assets will appear with a column displaying the order number of that asset
-
- press the word “Order” in the title to list the contents in numerical order
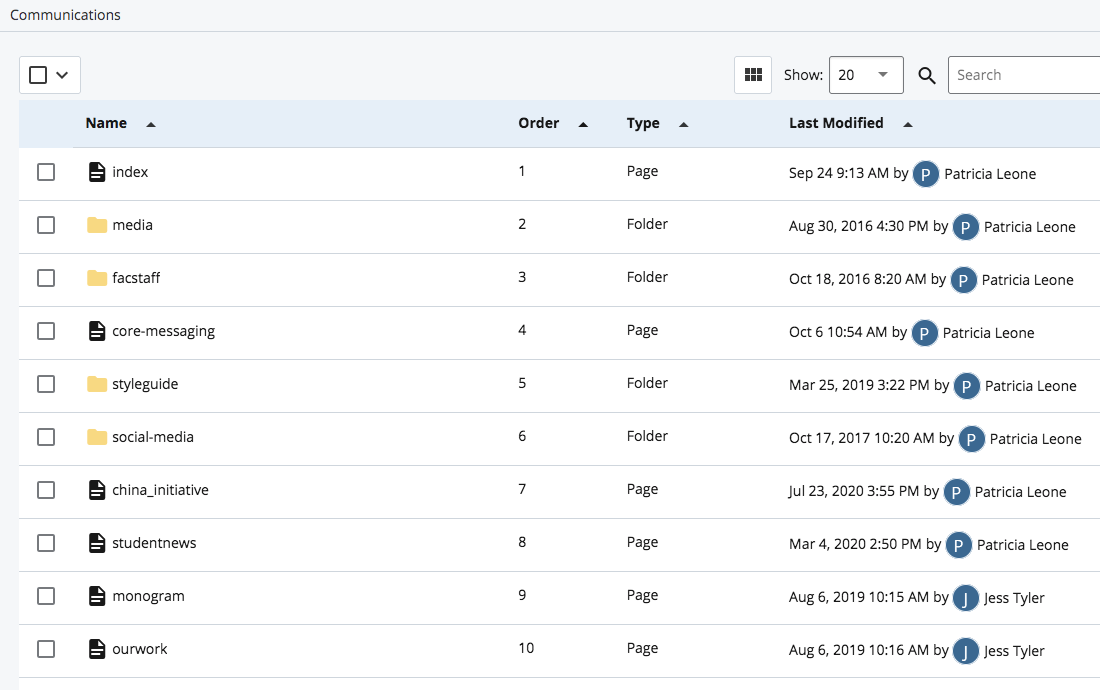
- to change the order number of page/folder, click and drag the order number of the asset to the desired location
- press the word “Order” in the title to list the contents in numerical order
- because you have changed the navigation you need to publish the whole site
External Links
- you can create an external link –that is a link to a page not in your website or in Cascade
- to do so, select/highlight the folder you wish to create an External Link in
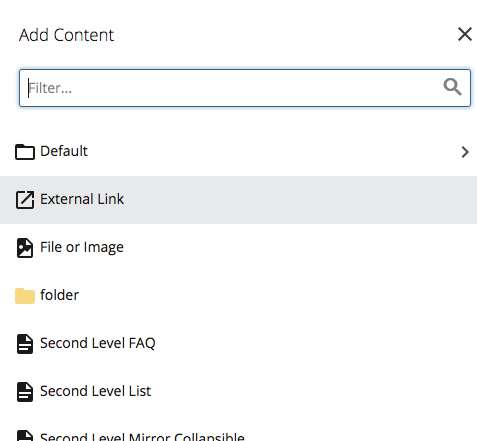
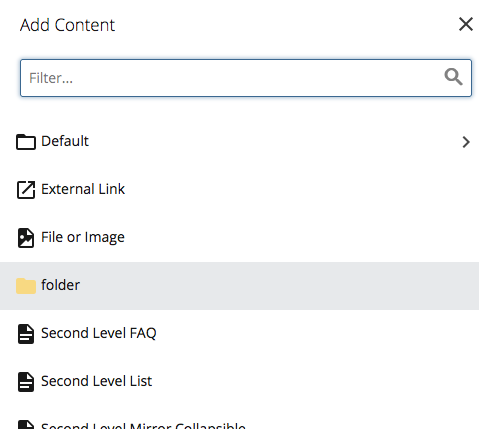
- select “Add Content”

- and from the dropdown select “External Link”
- Link Name: give the link a system name (url) (all small letters, no spaces, no special characters)
- type or paste the full link into the “Link” field (you must include the http:// or https://)
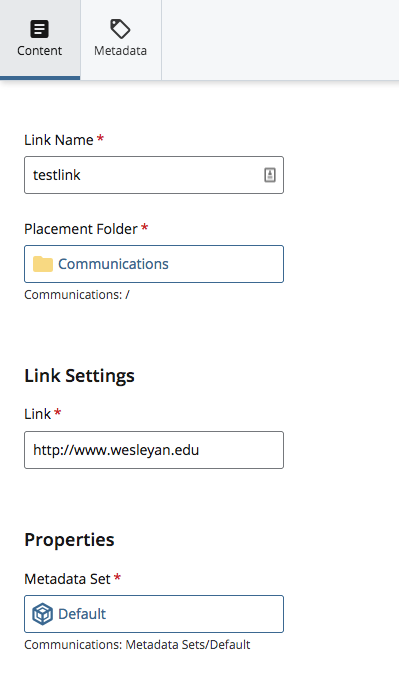
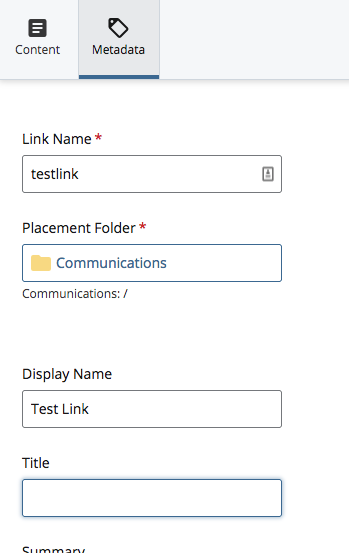
- go to the “Metadata” tab:
- set the “Display Name” — this is what will appear in your left hand navigation
- set the “Display Name” — this is what will appear in your left hand navigation
- Preview/Submit to save the asset
- because you have changed the navigation you need to publish the whole site
Adding an Expandable (Nested) Navigation
- nested navigation is a set of web pages that are nested under a topic
- nested navigation is created by putting a group of pages within a folder
- In order for nested navigation to appear in the navigation it needs the following:
- the folder must be included in the index (use the Edit>Configure tab)
- there must be at least 2 files in the folder
- the files must be included in the index (use the Edit>Configure tab)
- the folder has to have a Display name set (use the Edit>Metadata tab)
- Nested Navigation
- In your site’s dashboard in Cascade, create a new folder.
- Select in your left hand navigation list where you want this new folder to reside.
- Typically, new folders and new sections should live under your main folder (generally named after your web area).
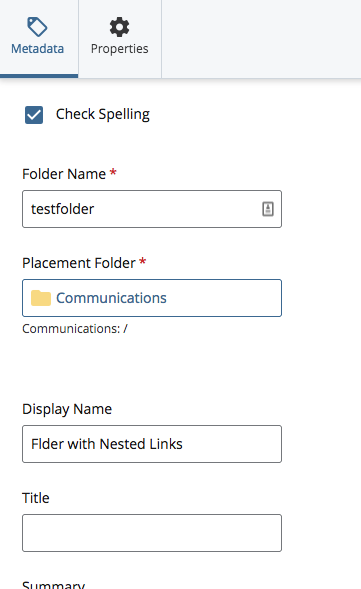
- Select Add Content and from the dropdown select Folder
- In the field called “Folder Name” give this folder a system name (all small letters, no spaces, no special characters)
- give your folder a “Display Name” — the name that will appear in the navigation
- Preview/Submit to Save your changes
- create pages to live within that folder.
- you must have more than one page in your folder
- if you want the users to jump to the main page within the new folder one of the files must be named index
- In your site’s dashboard in Cascade, create a new folder.
— Navigation isn’t Displaying Properly
- The main causes of navigation display errors are typically incomplete metadata or folder nesting issues.
- Metadata
- Make sure that your page has a Display Name and Title in the metadata.
- To check this
- right click on the asset name
- select “Edit” from the dropdown
- to to the “Meta” tab
- enter the link wording in the Display name
- Folders
- nested navigation can only be one level
- the navigation will not show properly if there is a folder within a folder
- Your pages should either appear in the main navigation under the Main webarea Folder
— Or within a folder in the Main webarea.
- Note: pages that live within a folder within a folder will not show up properly in the navigation (especially on mobile devices)
- nested navigation can only be one level
Working With Images
Images
- Images can be inserted onto a web page
- The image should live in your cascade area (uploading an image to cascade)
- images should be the “correct” size
- remember, images are being downloaded to the users device, so you do not want huge images
- be sure images are not too tall, too wide, or too dense
- height and width can be edited in cascade
- density must be reconfigured outside of cascade
- Images should be resized with an edit tool before they are placed on the page
- Adobe Photoshop is a good tool for resizing photos
- Cascade has tools for resizing photos — but Photoshop may be necessary for more advanced editing
- Best Practices
- store your images in an images folder
- neatness will keep your list of files/folders shorter (easier to set up navigation and find things)
- you can put folders in the images folder to help organize the images
- you must mark your image not to show in the navigation
- by default images are marked to be part of the navigation, you must uncheck the “include in index’ box in the config tab
- store your images in an images folder
- Uploading an Image to Cascade
- resizing image
- cascade has a resize tool that allows you to resize your image proportionally
- upload the image
- highlight the folder where the image will live (preferably the images folder)
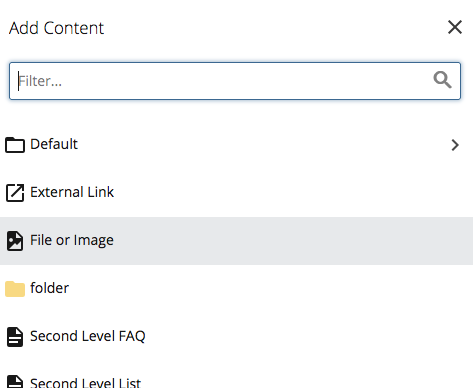
- select “Add Content”
- select “File or Image”from the dropdown
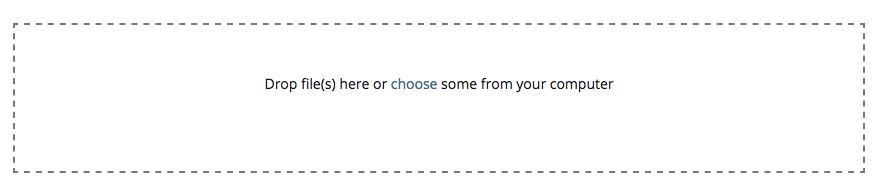
- use “Choose” to select the image you want to upload, or drag and drop your image into the dashed box
- the filename will automatically be assigned, but you can change it
- if this image is not going into the images folder:
- go to the “Configure” tab and uncheck “Include when indexing”
- Resize the image
- edit the image
- you will see the pixel height and width of the image
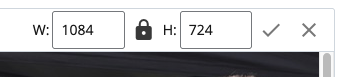
- change only one — the other will stay in proportion
- press the Check mark next to the sizes to activate your changes
- Preview/Submit your changes
- note: the image you have saved is now the smaller image
- Cropping the image
- edit the image
- use your cursor to select an area of the image
- drag the box outlines if you need an exact pixel size
- click and drag the box to the right location on the image
- use the crop tool
 to crop the selected area
 - preview/submit your changes
- note: the image you have is the cropped portion of the image
- notes:
- put images into an images folder
- if image is not in images folder, you must mark it not to show in the navigation
- cropped and resized images are saved in place of the original image
PDFs
Adding a New PDF
- to add a new PDF, select the folder this pdf will reside in (this can be your main folder, or any sub folder)
- select “Add Content”
- select “File or Image”from the dropdown
- use “Choose” to select the pdf you want to upload, or drag and drop your pdf into the dashed box
- the filename will automatically be assigned, but you can change it
- if this pdf is going to appear in your navigation:
- go to the “Metadata” tab to give it a display name (these are the words that will appear in the navigation)
- if this pdf is not going to appear in your navigation:
- go to the “Configure” tab and uncheck “Include when indexing”
Replacing a PDF
- to update/replace a pdf:
- find the pdf you wish to replace in the left hand navigation tree
- right click on the pdf filename and select “Edit” from the dropdown menu
- select “Choose ” to choose your new pdf from your computer or drag and drop the new pdf into the dashed box
- press Preview/Submit to save the changes
Orphan Pages
Sometimes in the process of editing your cascade website you delete a page from cascade but it does not delete from the server. We refer to these pages left on the server as orphan pages. These pages are generally found through search results. These pages are viewable in your browser, but you do not have a page with that name in cascade. The following are instructions for deleting an orphan page:
-
Make a page with the same name
- if the page has the url http://www.wesleyan.edu/yoursite/mypage.html
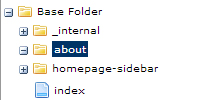
- highlight the Base Folder
- make a page in the Base Folder called mypage
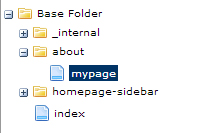
- if the page has the url http://www.wesleyan.edu/yoursite/about/mypage.html
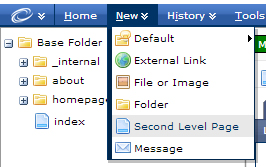
- to create a new page you generally go to Add Content >> Second Level Page
- you don’t need any data/content
- you don’t need any meta data
- Preview/Submit the page to save it — you are creating an empty page with no content
- if the page has the url http://www.wesleyan.edu/yoursite/mypage.html
-
Unpublish your new page
- Right click on the pagename
- select the unpublish option from the dropdown menu
- submit the “unpublish”
- this will remove the page from the server
-
Check to be sure the page was removed from the server
- using a browser go to the url of the orphan page
- be sure you get “page not found”
-
Delete the page you just made in cascade
- right click on the page you created
- select delete from the dropdown menu
- press the blue Delete button