The Of Note component puts Of Note items (announcements) in the center of the webpage. Of Note items have a title, description and optional url and image. The items can be added with a scheduler which allows the item to be displayed during a specific time-span.
Any webpage requiring a centrally located Of Note should at minimum use:
- Text Editor Component (or Text Editor with Of Note)
- should contain the page title (using Heading 1)
- should contain an introduction to the Of Note
- Of Note Component
- contains the ofnote items
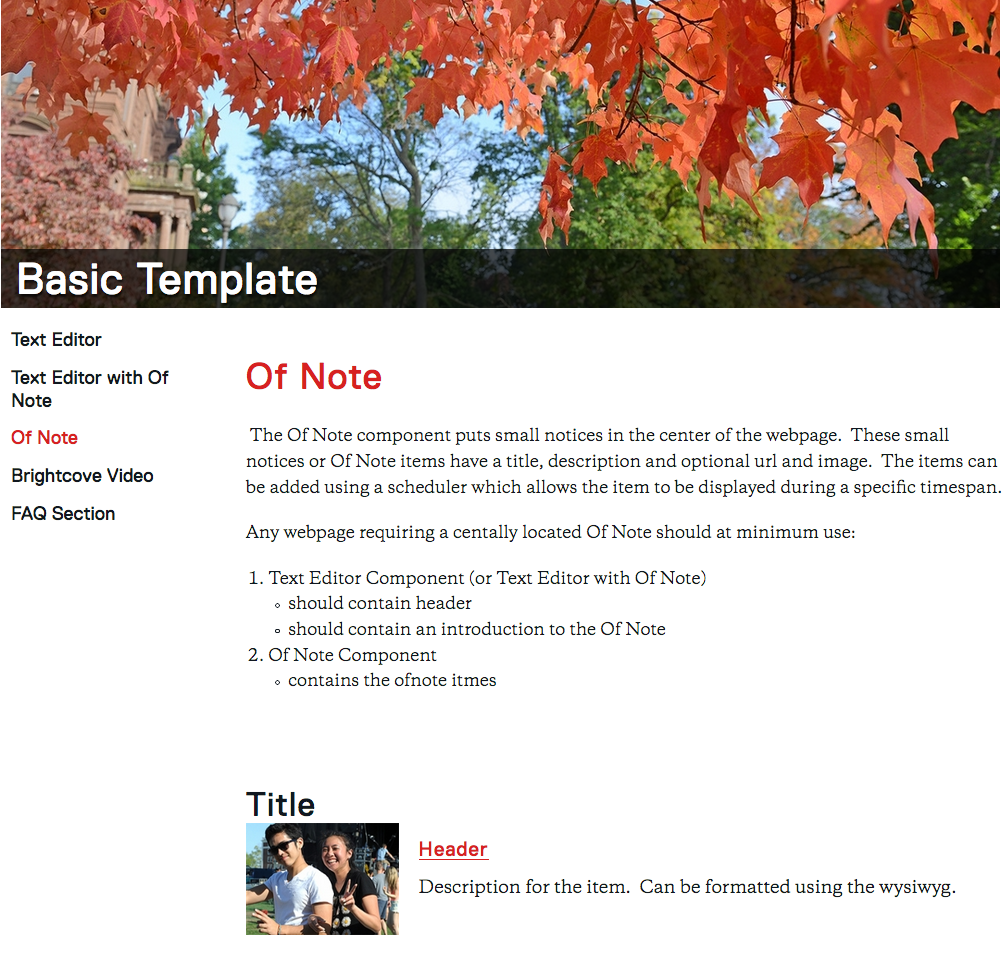
Example Of Note Pages
- using 2 rows
- first row: Text Editor — contains Page Title (Of Note) and opening description
- second row: Of Note — contains ofnote items
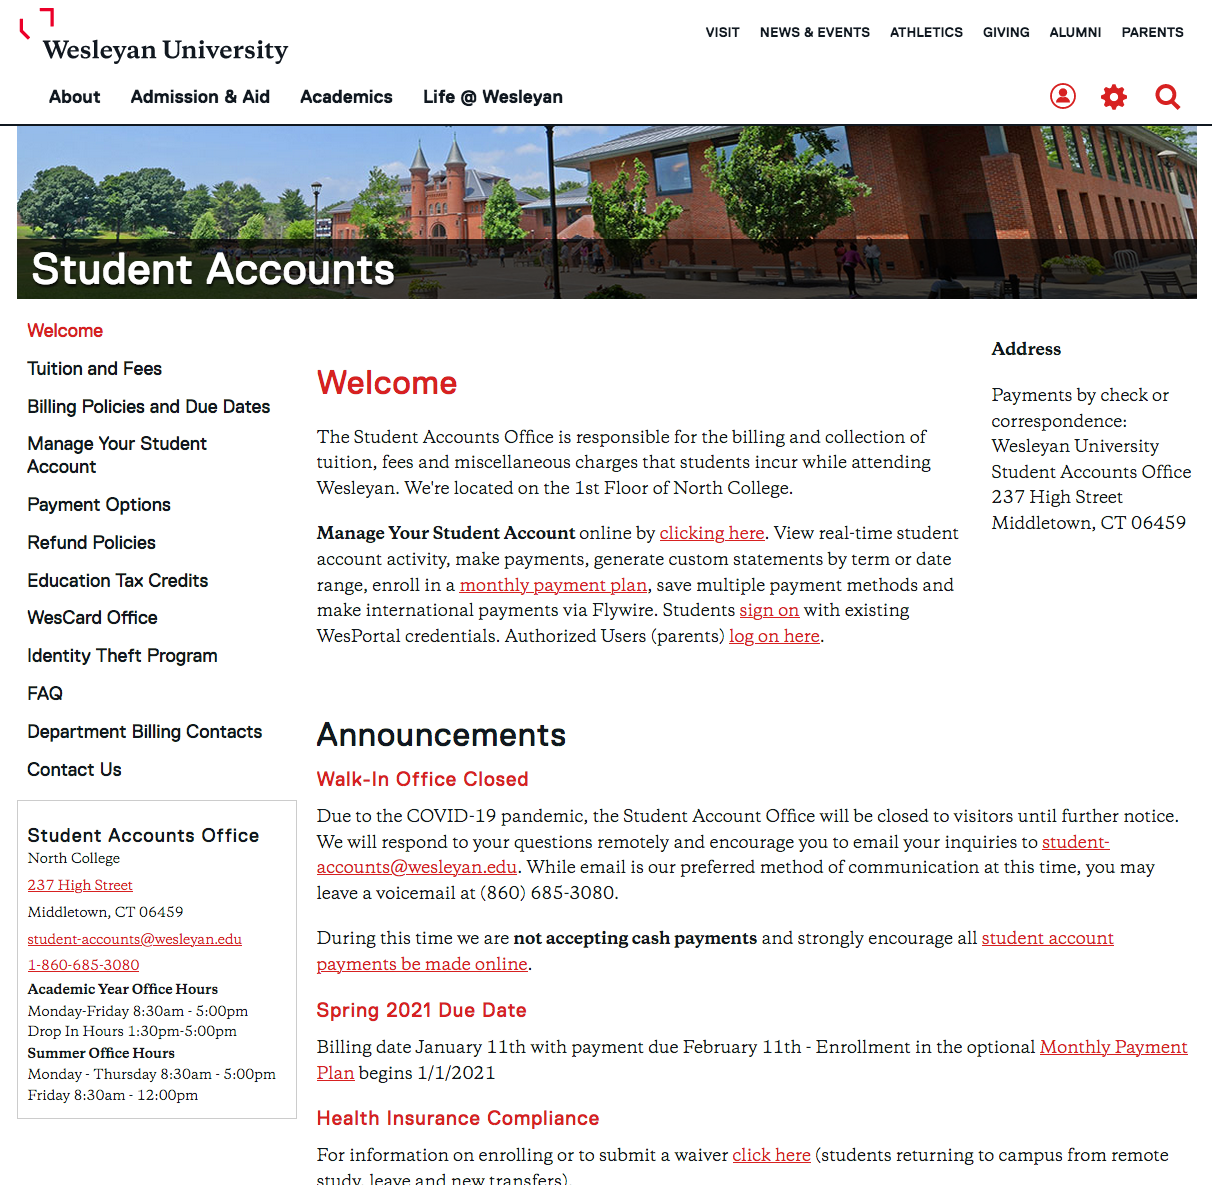
- using 2 rows
- first row: Text Editor with Of Note
- contains Page Title (Welcome) and opening description
- ofnote section in the right sidebar (in this case containing the address)
- second row: Of Note — contains ofnote items
- first row: Text Editor with Of Note
Editing an Of Note Page
- Click Add Content from the left side of the top bar in Cascade.
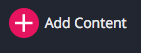
- A dropdown will appear, allowing you to choose what type of content you want to add to your website
- Select New Page
- Select New Page
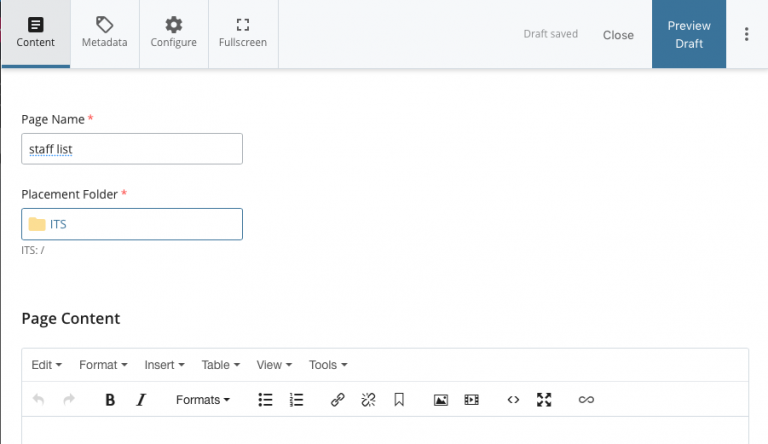
- The Page Name is part of the url
- use all small letters
- don’t have any spaces
- you can use underscore (_) or dash (-)
- In this example the name of the page is “stafflist”
- In this example the URL will be :
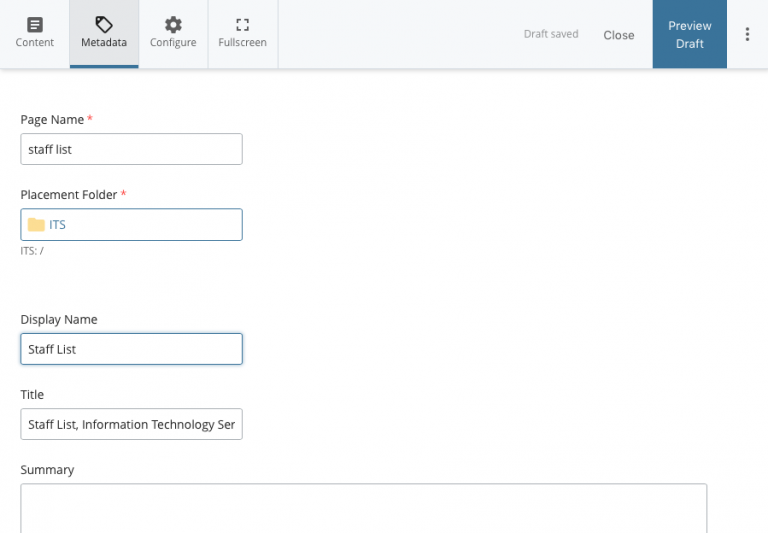
http://www.wesleyan.edu/its/stafflist.html - Editing Metadata:
There are two main fields in the metadata that you should edit- Display name: what shows up in the navigation bar, if indexed
- in this example we put Staff List — that will show up in the navigation
- Title: browser tab name, default book mark name, very good for searchability
- in this example we put Staff List (the Information Technology Service was already there — you should leave your department name in the title field)
- in this example we put Staff List (the Information Technology Service was already there — you should leave your department name in the title field)
- Display name: what shows up in the navigation bar, if indexed
- go back to the Content tab
- add your content to the Component section
- Select the Text Editor radio button
- Put a Title on the page using Header 1 formatting
- include an introductory paragraph(s)
- Use the green plus sign to add a new Row
- use a new row to add a new component to the page (in this example we will add an Of Note component)
- Select the Text Editor radio button
-
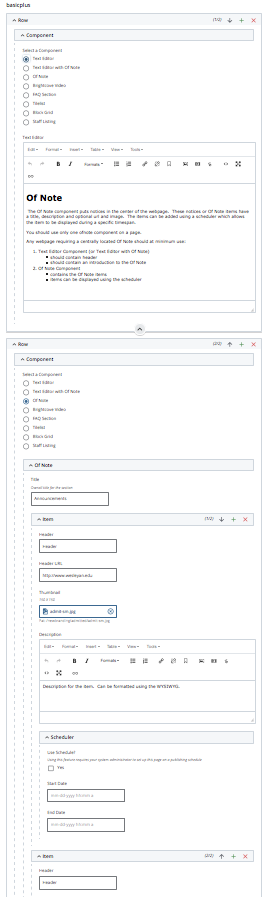
- Select the Of Note radio button
- give your Of Note section a Title (optional)
- Each Of Note Item has optional fields:
- Header
- Description
- Header URL
- Thumbnail
- Scheduler Parameters
- use the green plus sign in the Item section to add new Items
- use the up and down arrows to re-order Items
- give your Of Note section a Title (optional)
- Select the Of Note radio button
- when your edits are done
- Press the Preview Draft button
- if the draft looks good in Cascade
- press the Submit button to save your changes to the database.