Images
- Images can be inserted onto a web page
- The image should live in your cascade area (uploading an image to cascade)
- Images should be resized with an edit tool before they are placed on the page
- Adobe Photoshop is a good tool for resizing photos
- Cascade has updated tools for resizing photos (see Advanced Image Options > Resizing/Rotating an Image below) but Photoshop may be necessary for more advanced editing
Inserting an Image
Inserting Images Video Documentation
- Find the file in the left pane of your dashboard that will contain the image – click on it.
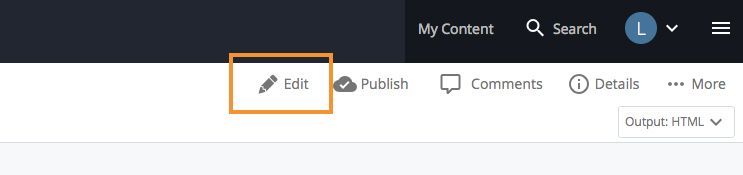
- Select the edit tab
- While in Edit place your mouse/cursor in area where you would like to place the image.
- HTML does not always let you put it exactly where you want it – you may have to move it around after you place it
- Click on the “Insert/edit Image” button.
![]()
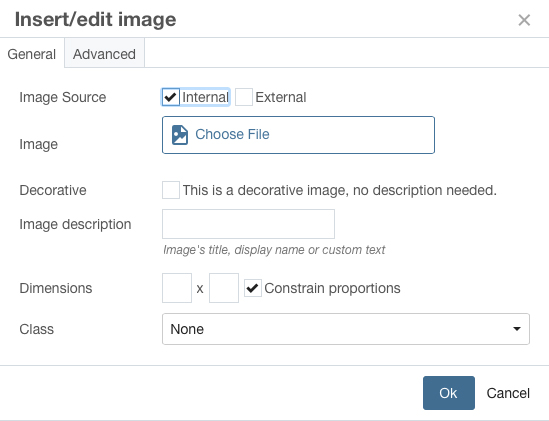
A new window will open, as shown below.
- Click on the Choose File button
- There are two ways in which you can find the image you wish to insert.
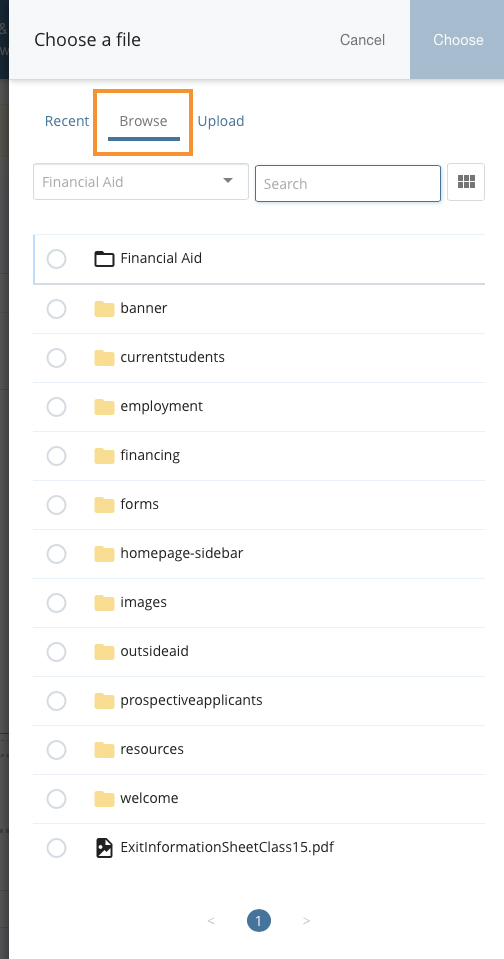
- Click on either the “Browse” or “Upload” tab at the top.
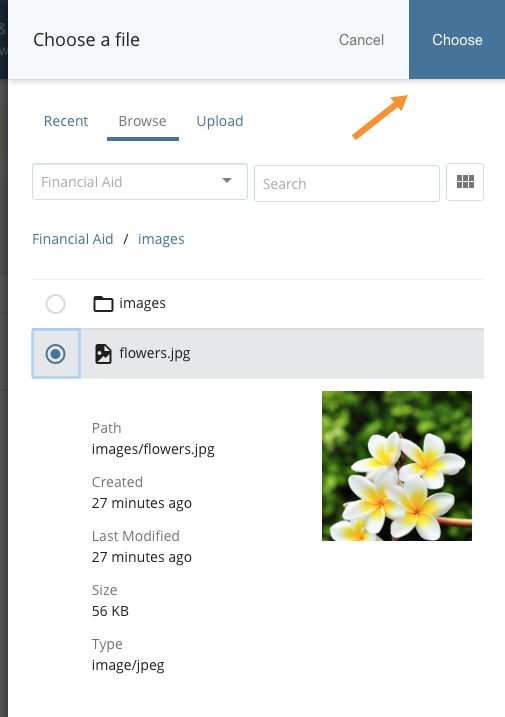
- Clicking the “Browse” tab will allow you to navigate through existing pages and folders. You can locate the image you wish to include. An example is shown below:
- Clicking the “Upload” tab allows you to choose a file located on your computer to insert.
- Uploading a new image lets you choose where the image file is stored on your site. An example is shown below:
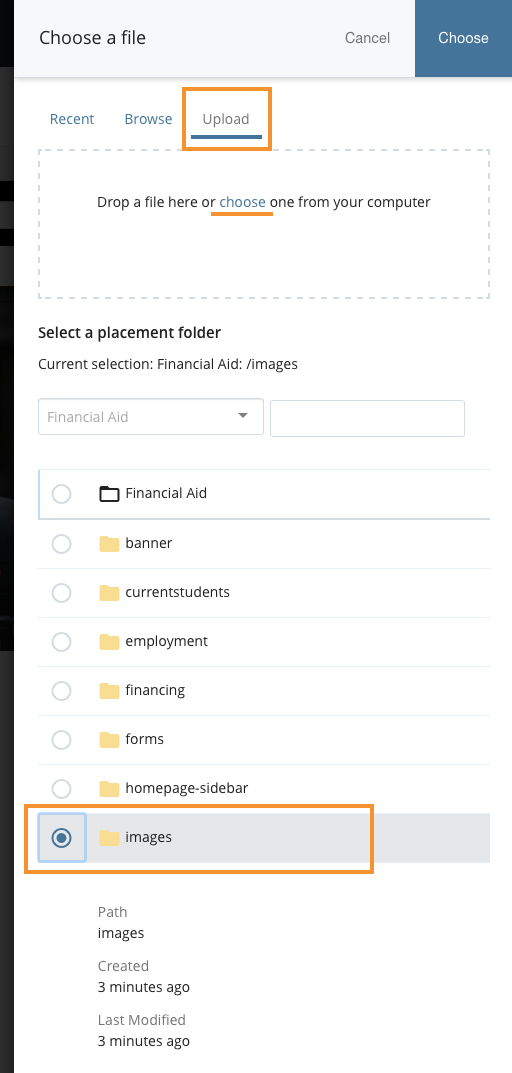
- Locate the desired image.
- Select “Choose”
The “Image Description” (formerly “Alternate Text”) field is required. Enter text that generally describes the image.

-
- the Image Description is used for ADA Compliance, it is read by screen readers for visually impaired viewers
- Click “OK” and your image will appear.
Advanced Image Options
While the previous versions of cascade allowed multiple advanced functions for styling your image, the current version only allows a Figure Caption to be added to the image.
- To get to the Advanced tab, click on the image you want to edit, click the image icon
 and select the “Advanced” tab.

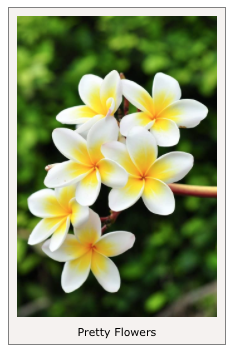
- The Figure Caption takes the text from the “Image Description” section and places it underneath the image. An example is shown below:
Creating a Link From an Image:
- Select the image you wish to act as a link.
- a selected image will be outlined with bullets in the corners
- Click the “Insert/edit Link” icon in the toolbar.
![]()
- See the “Inserting Hyperlinks in Cascade” page for more information.
Resizing/Rotating an Image in Cascade:
Resizing/Rotating an Image Video Documentation
- Using the navigation on the left-hand side of the screen, click on the image you wish to resize
- Select the edit tab
![]()
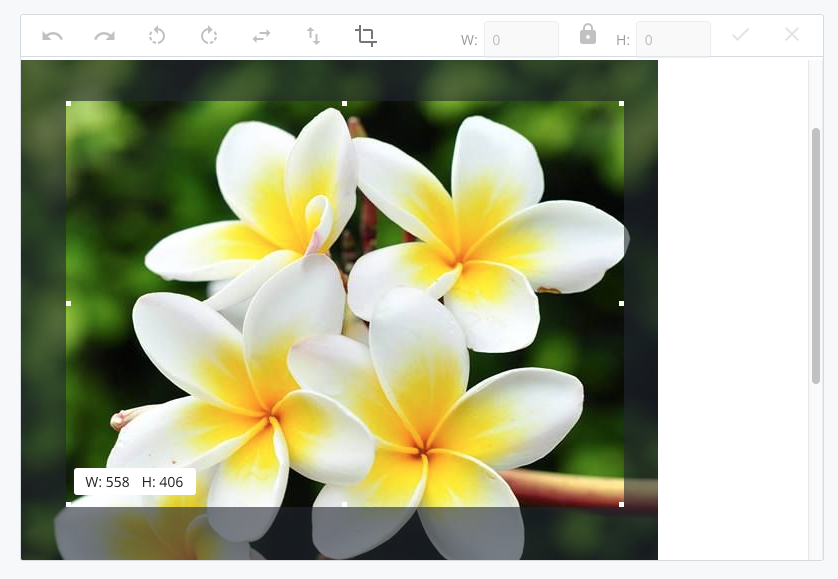
- You have a few edit options for your photo
- The circular arrows (third and fourth from the left) can rotate the photo you are editing
- The double ended arrows—horizontal and vertical—can flip your image on the horizontal axis or vertical axis (fifth and sixth buttons from left)
- You can change the dimensions in the W (width) or H (height) fields
- The value tells you the size of the image in pixels
- To maintain the same proportions as in the original image, ensure that the “link” icon between the width and heigh values is “connected”
- When the links are together, changing one of the dimensions will automatically cause the other to change so that the original dimensions of the photo are reserved.
- To change both photo dimensions independently, click on the links so that they “break”
- Change the numbers to the desired dimensions
- To change the dimensions, after adjusting the numbers, you must select the checkmark on the right of the blue editing bar to apply the changes.
- You can hit the “X” to revert to your previous settings.
- A final option to crop your photo is to directly select on the image the selection you want.
- On the image directly, click and drag to select the parts of the image you wish to keep
- The bottom left hand corner will tell you the dimensions of your selection
- To apply this change and crop the photo, hit the “Crop” button (square with a line icon) which is the seventh icon from the left
- Press the “Preview Draft” button — if the draft looks good in Cascade press the “Submit” button to save your changes to the database.